Silky Sweet Azuki Bean Paste From Scratch

Have you ever tasted a dessert with a wonderfully sweet, nutty, and velvety filling and wondered what that magical ingredient was? Chances are, it was red bean paste! This staple of many delightful Asian sweets is a game-changer, and making it yourself is one of the most rewarding kitchen projects you can tackle. While it does require a few hours and a bit of patience, the process is surprisingly straightforward. The result is a beautifully smooth, fragrant paste with a deep, complex sweetness that store-bought versions simply can’t match. Forget any additives or preservatives; this recipe gives you pure, delicious red bean goodness, perfect for elevating your homemade pastries, buns, and desserts.
Before you begin your culinary adventure, let’s gather the ingredients. The beauty of this recipe lies in its simplicity, using just a handful of core components. You can adjust the sweetness to your personal preference, which is the best part about making it from scratch!
Ingredients:
- 1 cup (about 200g) Dried Adzuki Beans: These are small, reddish-brown beans. You can find them in most Asian markets or in the international aisle of larger supermarkets. If you absolutely cannot find them, you could try using red kidney beans, but please note the flavor and texture will be quite different. Adzuki beans are truly the star here for that classic taste.
- Water: For soaking and boiling the beans.
- ¾ to 1 cup (150g to 200g) Granulated Sugar: You can start with the smaller amount and add more to taste. The final sweetness is entirely up to you.
- ¼ cup (60ml) Neutral-flavored Oil: Canola, vegetable, or sunflower oil works perfectly. The oil helps create a smooth, glossy texture and makes the paste easier to work with in pastries.
Step-by-Step Instructions:
-
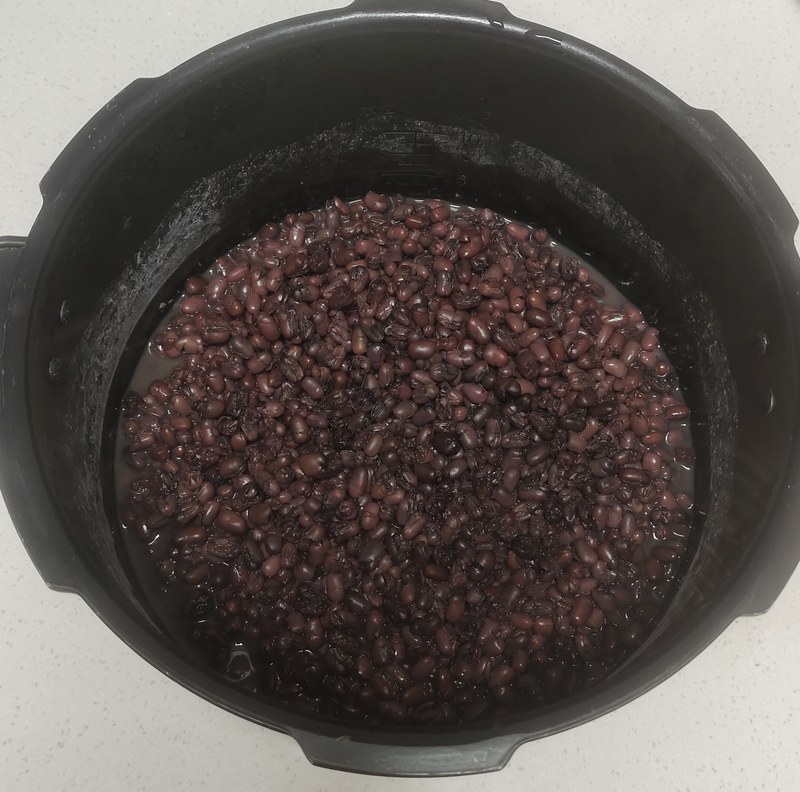
First, rinse the adzuki beans thoroughly under cold water. Place them in a large bowl and cover them with plenty of water. Let them soak overnight. By morning, they will have plumped up nicely. Drain the soaking water, place the beans in a pressure cooker, and add fresh water to cover them by about two inches. Cook under high pressure for 20 minutes. Alternatively, if you don’t have a pressure cooker, you can simmer them in a pot on the stove for 1 to 1.5 hours, or until they are very tender and can be easily mashed with a fork.
-
Let the cooked beans cool down a bit until they are safe to handle.
-
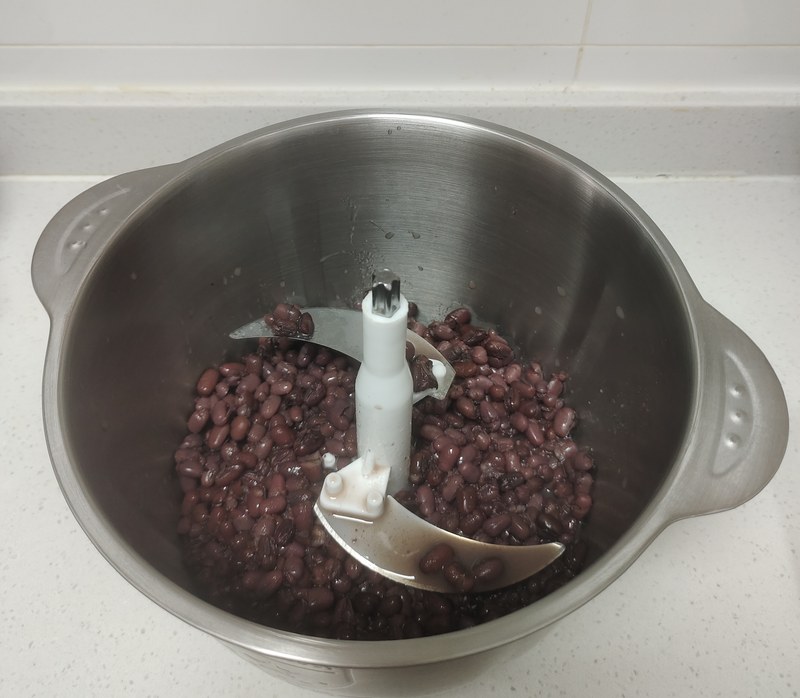
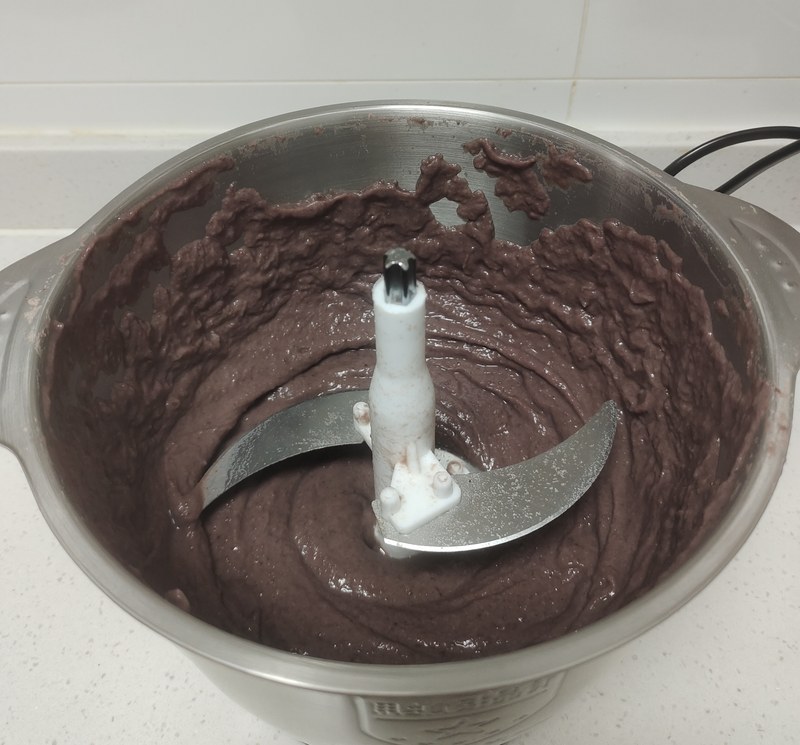
Transfer the cooked beans, along with some of their cooking liquid, to a blender or food processor. You may need to do this in two batches to avoid overloading your machine. Blend until you have a completely smooth and silky purée. If the mixture is too thick to blend, add a tablespoon of the cooking liquid at a time until it moves freely.
-
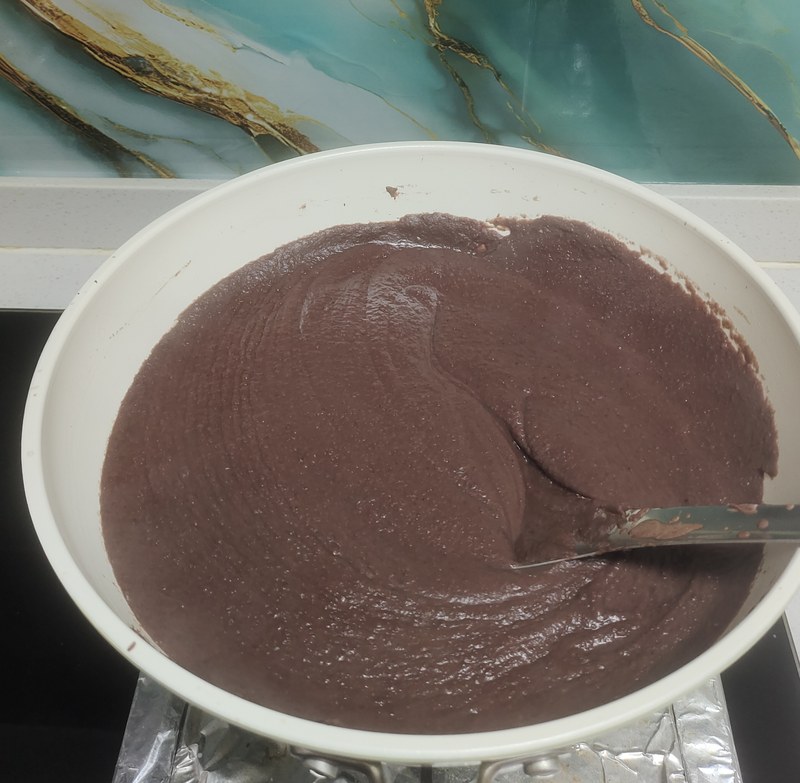
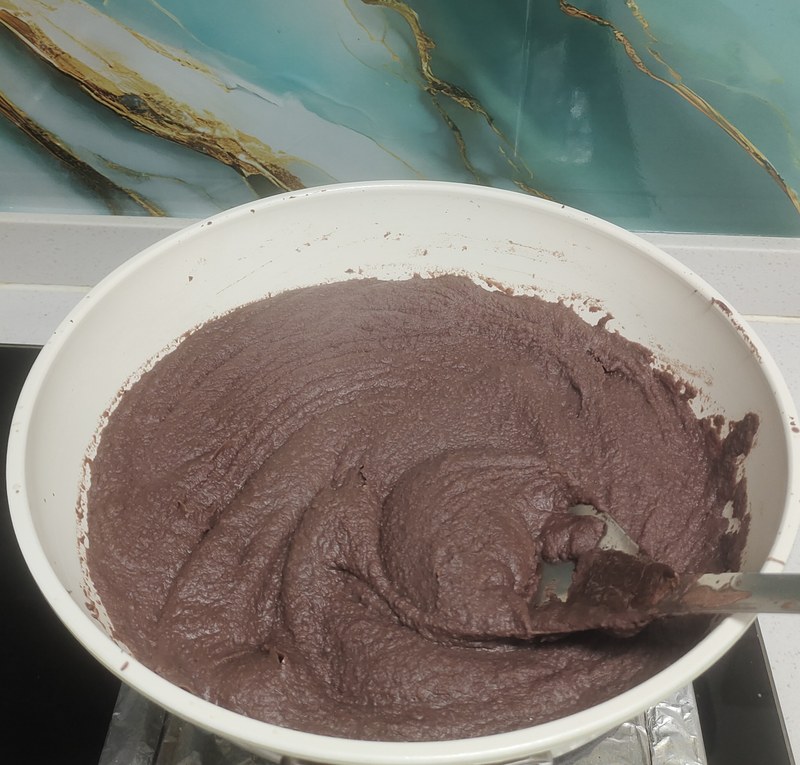
Now for the most important part: transforming the purée into a thick paste. Pour the purée into a large, non-stick skillet or pot. Add the neutral oil and turn the heat to medium-low. Once the oil is incorporated, begin adding the sugar. It’s crucial to keep the heat low and to stir constantly with a heat-resistant spatula. A word of caution: the mixture will bubble and may spit as it heats up, so be careful! I sometimes wear an oven mitt or kitchen glove on my stirring hand just to be safe.

-
Continue stirring continuously as the paste cooks and the moisture evaporates. This step requires patience, but it’s where the magic happens. Don’t be tempted to walk away!
-
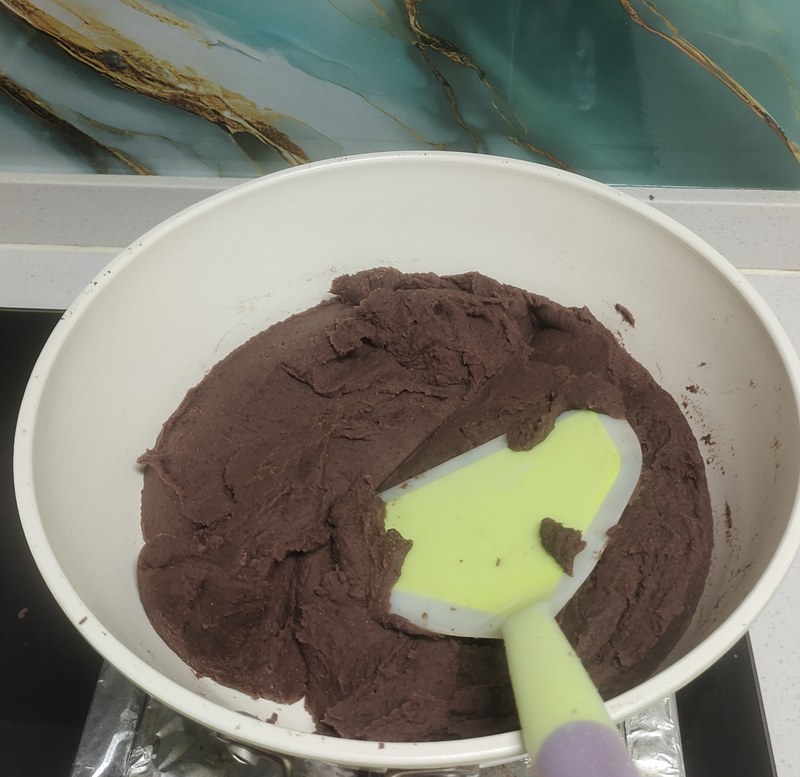
You’ll notice the paste will start to thicken considerably. At this stage, it looks a bit like a thick pudding, but it still needs more time. Keep stirring.
-
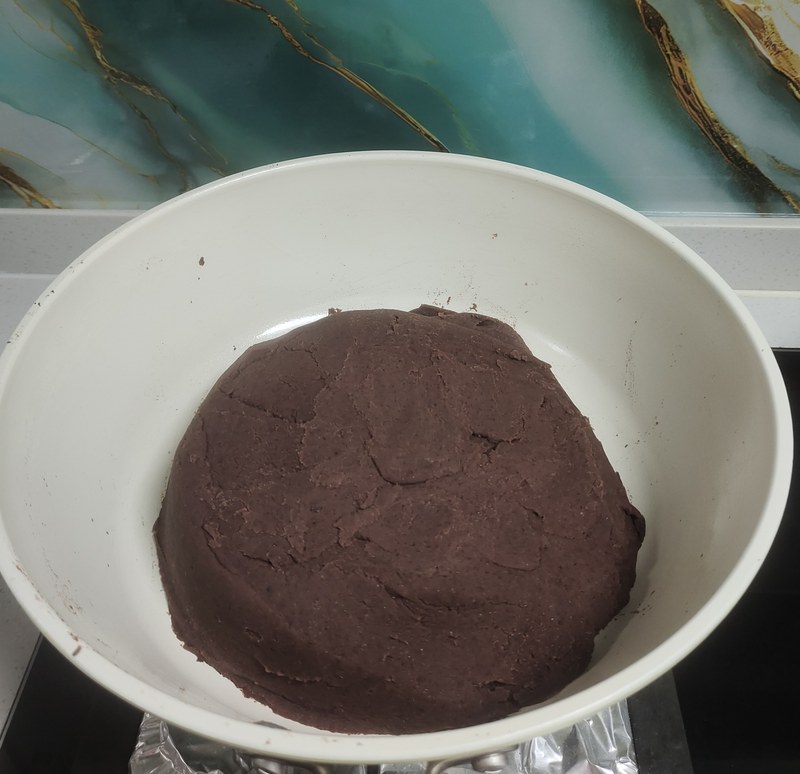
You’ll know it’s ready when the paste pulls away from the sides of the pan as you stir and no longer sticks to your spatula. It should be thick enough to hold its shape in a mound. This is the perfect consistency for fillings.
-
The constant stirring is what develops that perfect, smooth texture by slowly cooking out the water.
-
Allow the finished red bean paste to cool completely. You can then transfer it to an airtight container or a food-safe plastic bag for storage. It will keep in the refrigerator for about a week or can be frozen for several months.
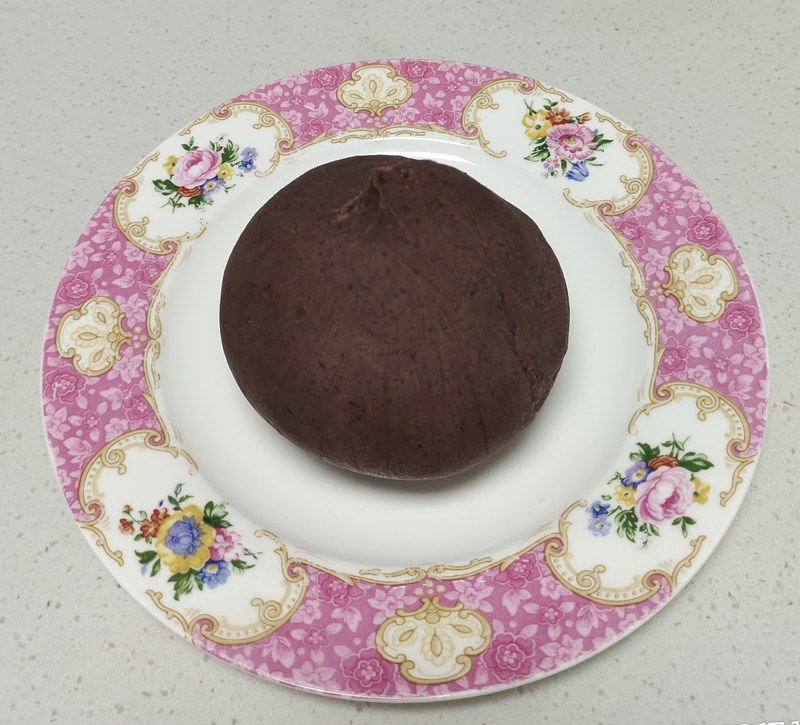
I can’t tell you how satisfying it is to pull a batch of this homemade red bean paste from the fridge. The aroma alone is incredible! The first time I made it, I was amazed by the vibrant, natural color and the rich, earthy flavor that was so much better than anything from a can. I recently used my batch to make stunningly beautiful mooncakes, and the filling held its shape perfectly, creating a gorgeous presentation without a single drop of food coloring. 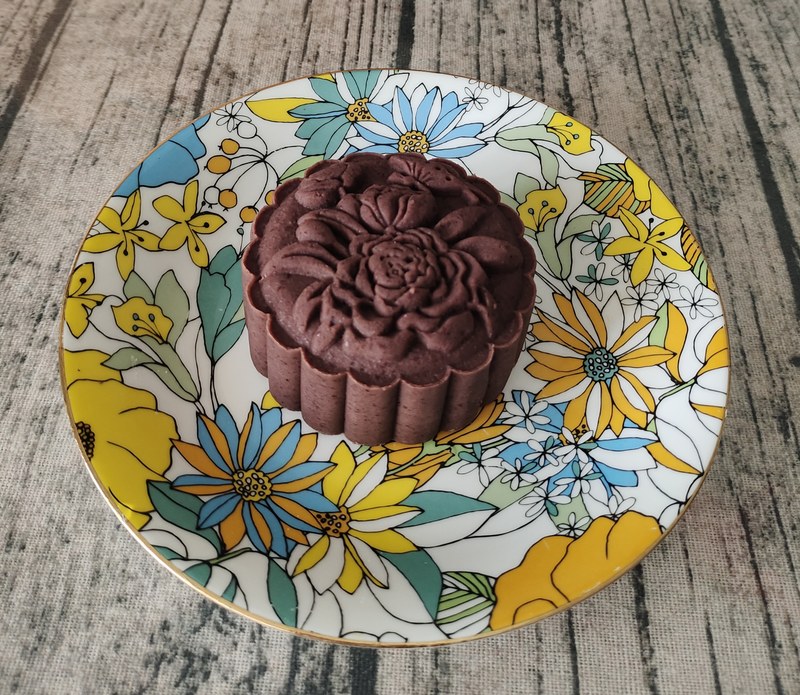 This versatile paste is also perfect for filling steamed buns, spreading on toast with a pat of butter, or even swirling into vanilla ice cream. I truly hope you give this recipe a try. It’s a wonderful way to connect with a traditional craft, and the delicious results are more than worth the effort. Let me know in the comments what you decide to create with your homemade red bean paste


