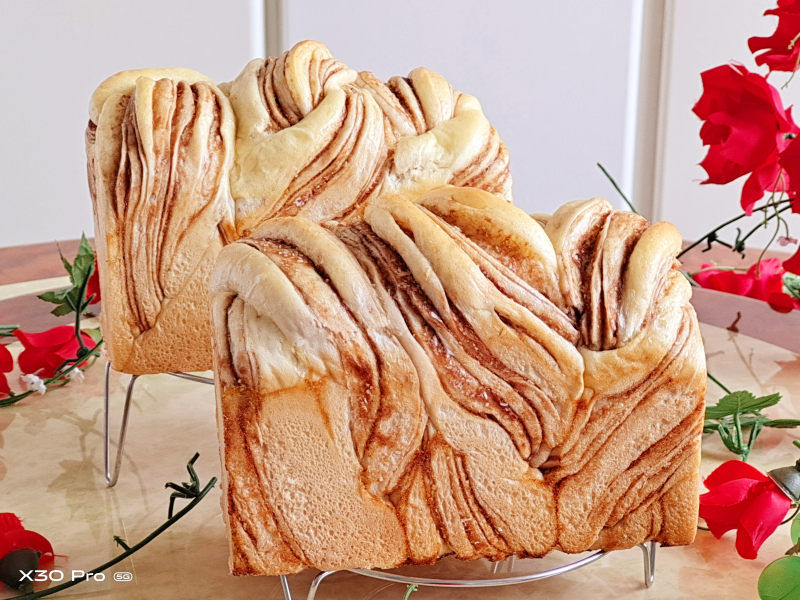
Golden Honey Coconut and Red Bean Bread
Get ready to fill your kitchen with the most incredible aromas of warm milk, sweet honey, and toasted coconut. This recipe guides you through creating two loaves of the softest, most pillow-like bread you’ve ever tasted. While the process spans a few hours and requires a bit of patience, it’s a deeply rewarding baking project, even for those new to bread making. The secret lies in a clever technique that develops the dough’s structure with minimal kneading, making it surprisingly manageable. Each slice reveals a beautiful swirl of sweet red bean paste and fragrant coconut, creating a loaf that is as stunning to look at as it is delicious to eat.
Gather Your Ingredients
This recipe makes two standard 450g (approximately 9×5 inch) loaves. Precision is key in baking, so a kitchen scale is highly recommended!
For the Main Dough:
- Bread Flour: 580g
- 2 Large Eggs + Milk: 356g total. This is a crucial step! First, weigh your two eggs (without the shells), then add enough milk to reach a combined weight of 356g. This ensures the perfect hydration level.
- Honey: 35g
- Granulated Sugar: 25g
- Instant Yeast: 6g
- Salt: 4g
- Neutral Oil: 50g (Corn, canola, or a light vegetable oil works perfectly)
For the Filling and Topping:
- Sweet Red Bean Paste: 200g. Look for this in the baking or international aisle of larger supermarkets, at an Asian grocery store, or online. It’s a smooth, sweet paste made from adzuki beans and is essential for the authentic flavor.
- Unsweetened Shredded Coconut: 100g
- Egg Wash or Honey Glaze: For brushing on top. For an egg wash, simply whisk 1 egg with a tablespoon of milk or water. For a honey glaze, mix 1 tablespoon of honey with 1 tablespoon of warm water.
Let’s Start Baking: A Step-by-Step Guide
-
Begin by combining the bread flour, the egg and milk mixture, honey, and sugar in a large bowl. Mix until there are no dry spots of flour left. Don’t add the yeast, salt, or oil yet! Cover the bowl with plastic wrap and let it rest at room temperature for at least 30 minutes, or for a more developed flavor, place it in the refrigerator overnight. This resting period, called an autolyse, allows the flour to fully hydrate and starts building gluten for you, making the next step much easier.

-
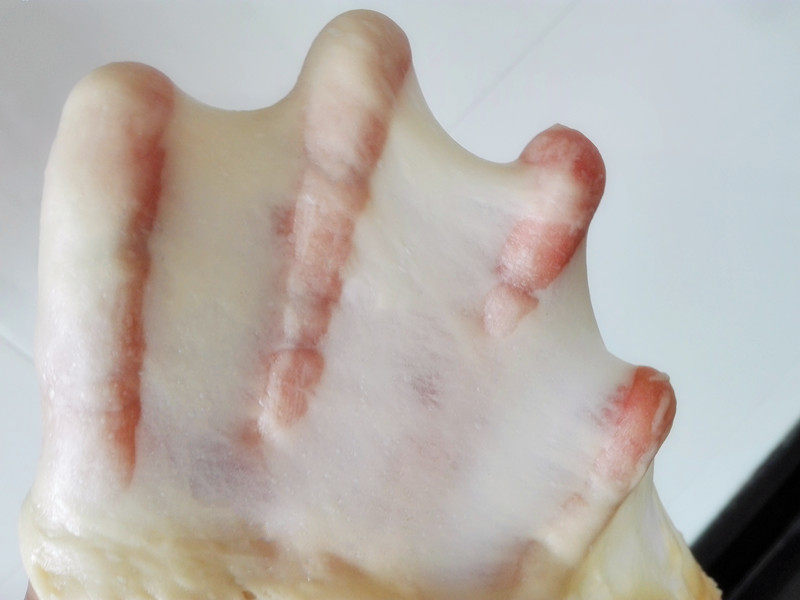
After the rest, you’ll notice the dough has already become quite stretchy. You can pull it into a thick, resilient sheet. Now, add the yeast and knead it into the dough until fully incorporated. Next, add the salt and knead again until it dissolves. Finally, pour in the oil and continue to knead until the dough is smooth, elastic, and passes the “windowpane test”—meaning you can stretch a small piece of dough so thin that it’s translucent without tearing. This is a sign of a fully developed gluten structure.
-
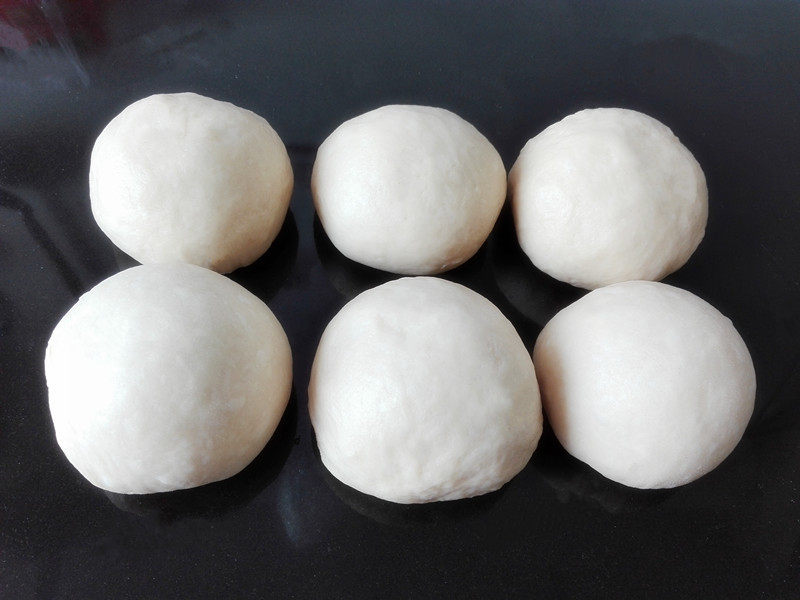
No need for a first rise! Immediately divide the dough into 6 equal portions. Roll each portion into a smooth ball, cover them with plastic wrap, and let them relax on your work surface for 15 minutes.
-
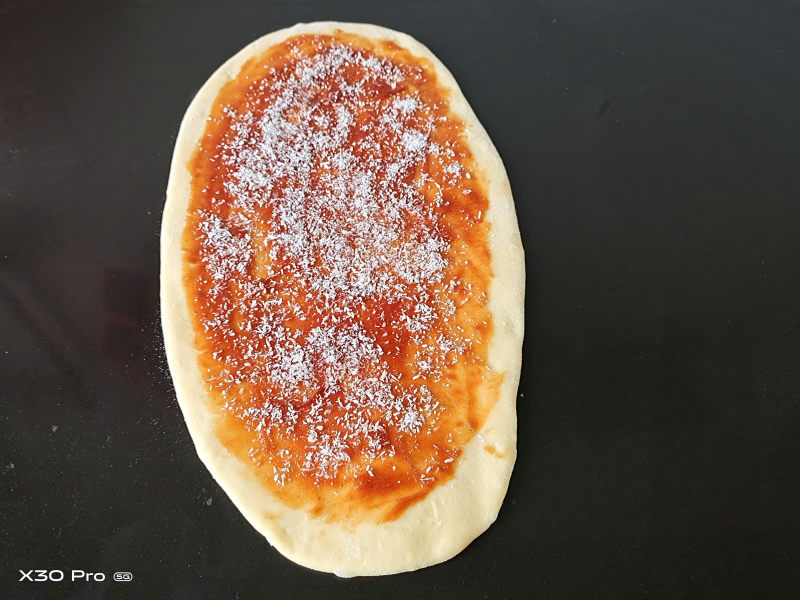
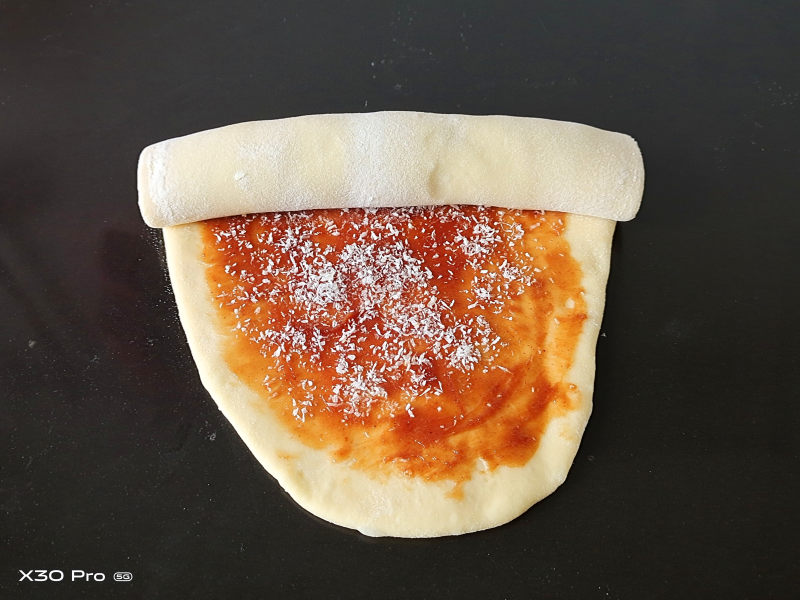
Take one of the dough balls and use a rolling pin to roll it into a long rectangle. Spread a thin, even layer of the sweet red bean paste over the surface, then sprinkle generously with shredded coconut.
-
Starting from the top long edge, roll the rectangle up tightly into a log. Pinch the seam to seal it.
-
Place the log on your cutting board and, using a sharp knife, slice it in half lengthwise, leaving about an inch at the top connected.
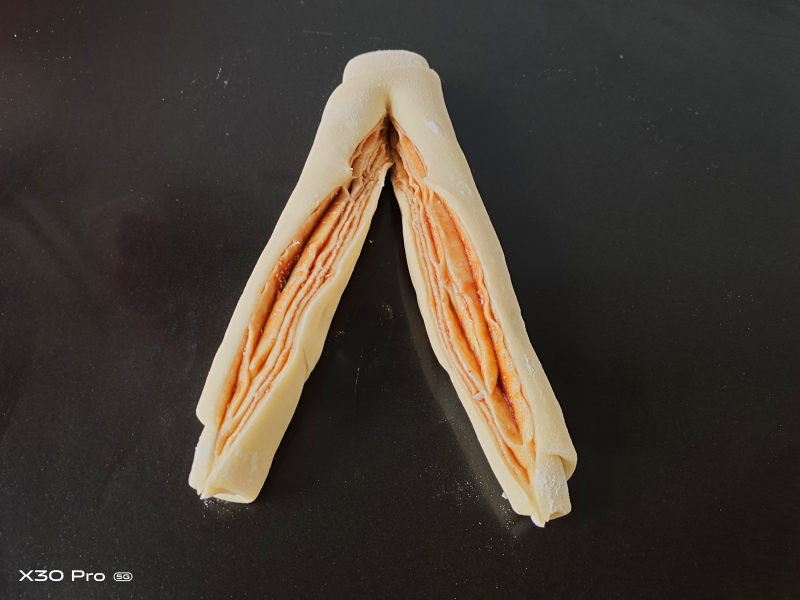
-
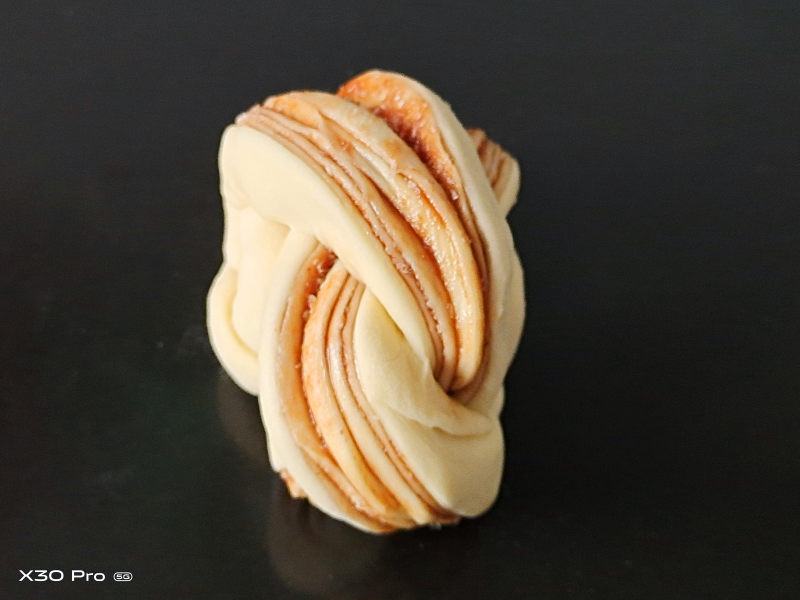
Turn the two cut halves so the swirled layers are facing up. Twist the two strands over each other, like you’re twisting a rope, to form a braided loaf.
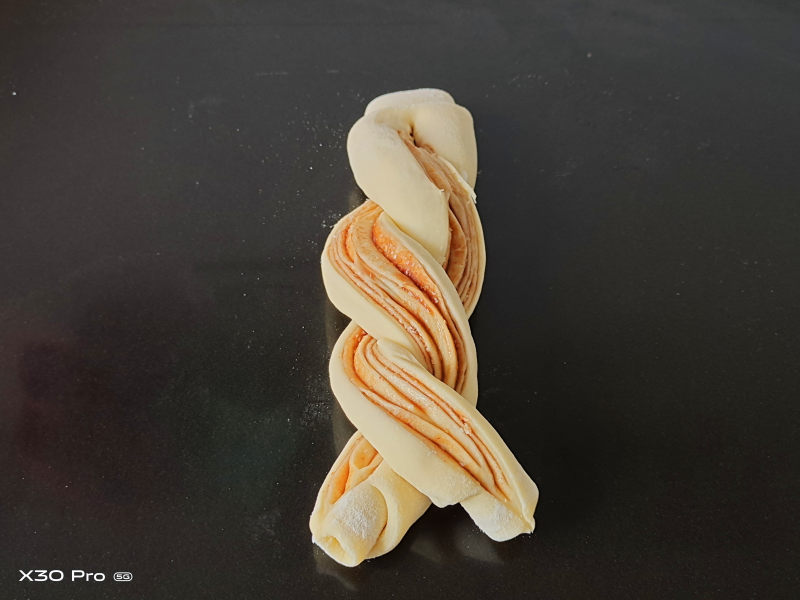
-
Pinch the bottom ends together firmly to seal the twist.
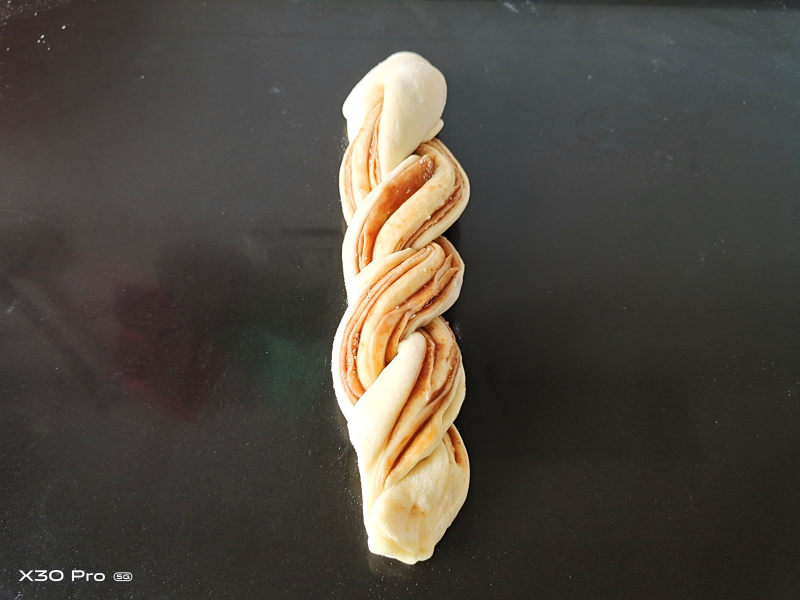
-
Carefully tuck both ends of the twist underneath the loaf to create a neat, rounded shape.
-
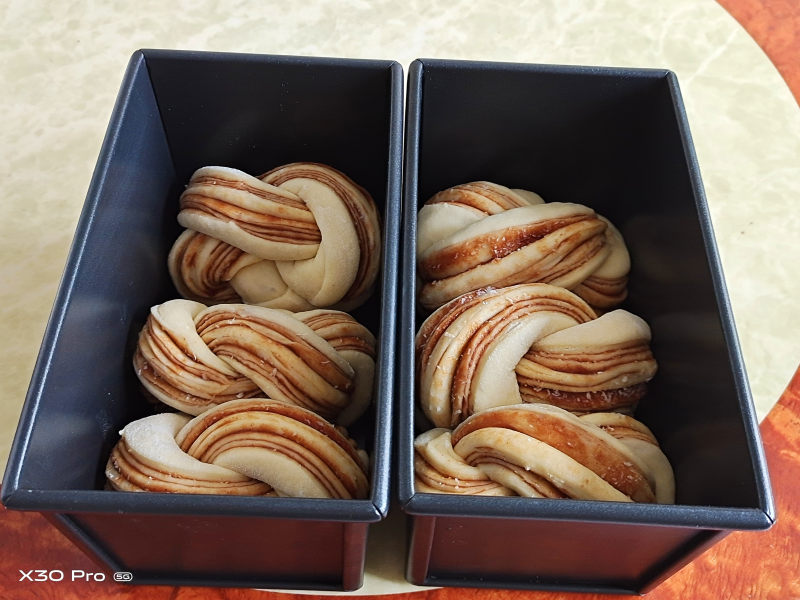
Repeat steps 4-9 with the remaining dough balls. Place three finished twists side-by-side into each of your two greased 450g (9×5 inch) loaf pans.
-
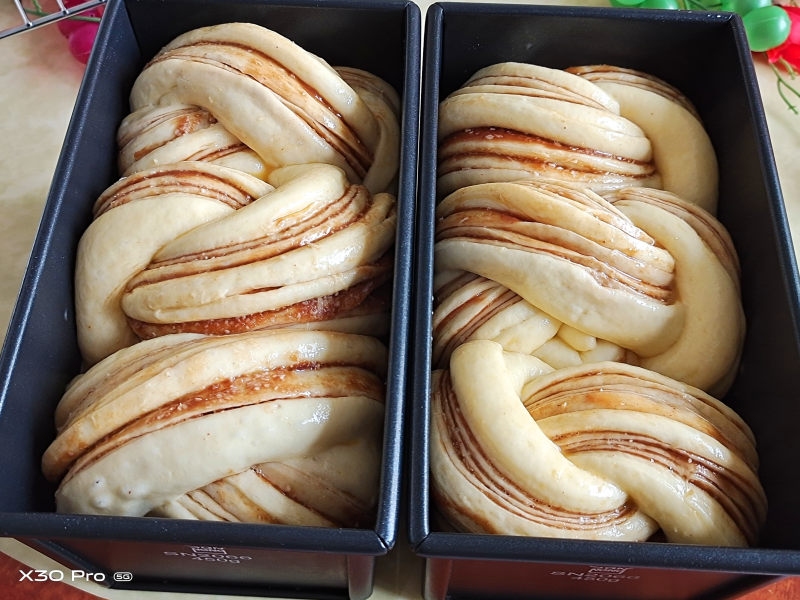
Cover the pans and let the dough rise in a warm, draft-free spot until it has risen to about 80-90% of the height of the pan. This is the final proof, and the timing will vary depending on the warmth of your room, so watch the dough, not the clock. Once risen, gently brush the tops with your prepared egg wash or honey glaze.
-
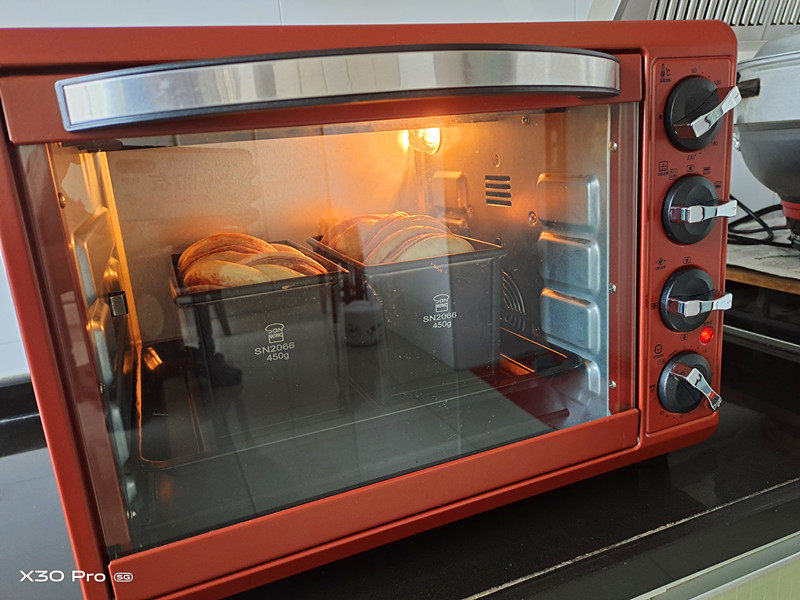
Preheat your oven to 265°F (130°C) with the fan or convection setting on, if you have one. Place the loaf pans on the lowest rack. Bake for 40 minutes. After about 10 minutes of baking, loosely cover the tops of the loaves with aluminum foil to prevent them from getting too dark. Please note: oven temperatures can vary greatly. If this seems too low for your oven, you can try a more standard 350°F (175°C) and check for doneness sooner.
-
Once baked, the loaves should sound hollow when tapped. Immediately remove them from the oven and turn them out of the pans onto a wire cooling rack. Lay them on their sides to cool; this simple trick prevents the soft structure from sinking or collapsing.
-
While the loaves are still slightly warm to the touch, place them in a large plastic bag and seal it. This traps the residual steam and moisture, ensuring an incredibly soft and tender crumb for days.

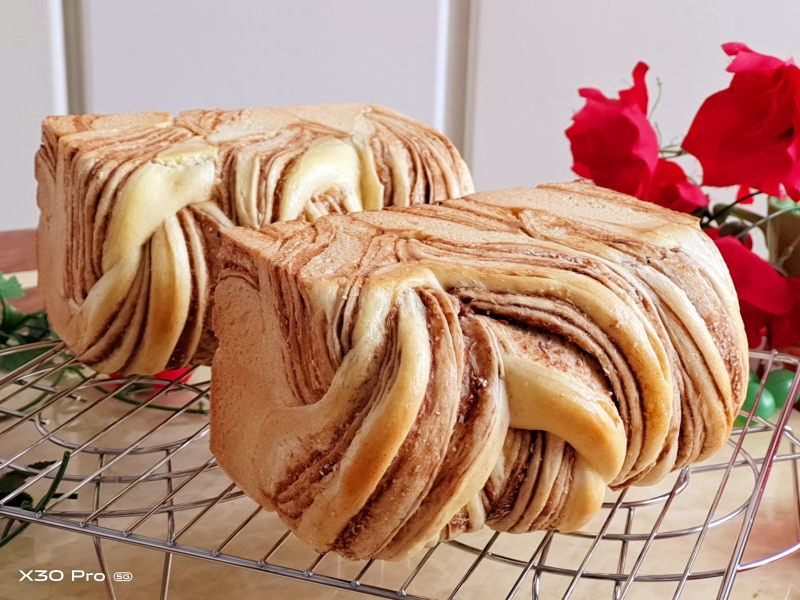
There is nothing quite like the moment you slice into a loaf of bread you’ve made yourself, and this one is a true showstopper. The air will be filled with its sweet perfume. As you tear a piece off, you’ll see the beautiful, defined swirls of red bean and coconut, and feel the unbelievably soft, feathery texture of the bread. The taste is a perfect harmony of flavors—a rich, milky crumb balanced by the earthy sweetness of the bean paste and the fragrant, slightly chewy coconut. It’s a delightful treat for breakfast, an afternoon snack with tea, or a comforting dessert. I encourage you to embrace the process; the result is more than just bread, it’s a little piece of edible art that’s both nourishing and truly delicious.  Happy baking, and I’d love to see your beautiful golden loaves


