Aromatic Salt Cured Eggs Homemade Spiced Brine
For those of us who love exploring unique flavors and adding a special touch to our meals, there’s a wonderful world of preserved ingredients waiting to be discovered. Today, I’m excited to share a recipe for homemade salt-cured eggs, a classic preparation that transforms simple fresh eggs into a delicacy with a rich, savory depth and a wonderfully oily yolk. This isn’t your everyday scrambled egg; it’s a process that requires a bit of patience, yielding spectacular results perfect for elevating your breakfast. While the process takes several days to complete, the actual hands-on work is surprisingly minimal, and the technique of brining is fundamental to many food traditions worldwide. The result is a deeply satisfying, salty-savory egg with a fragrant aroma that pairs beautifully with congee or simply enjoyed on its own. Let’s dive into creating this kitchen treasure!
Ingredients You’ll Need
Gathering these ingredients is the first satisfying step. For this recipe, you’ll need:
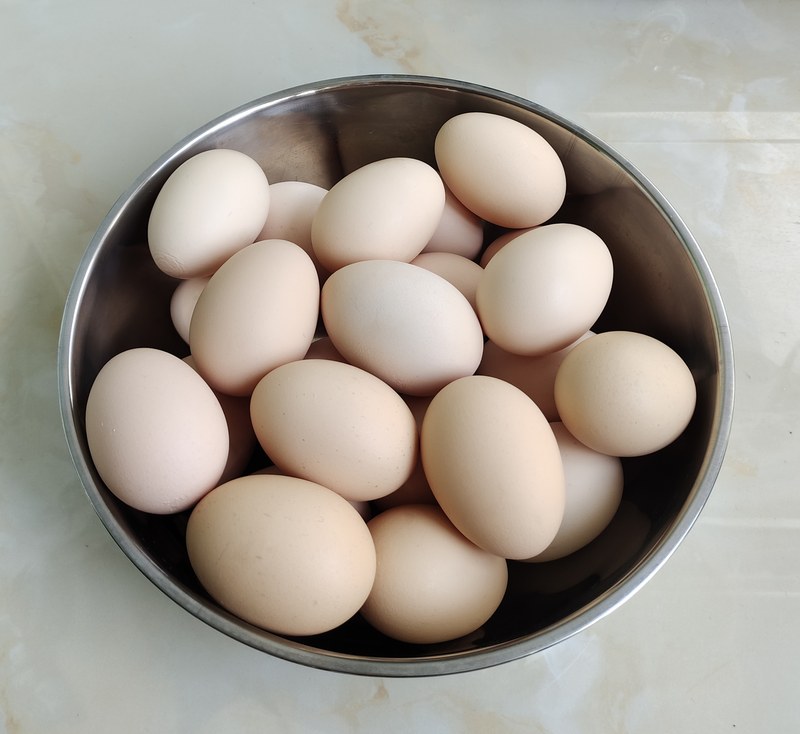
- Fresh Eggs: 38 large eggs. It’s best to use the freshest eggs you can find.
- Fine Salt: 1 pound (approximately 500g or 2.2 cups). This is the primary preserving agent.
- Star Anise: 3 pieces. These add a warm, distinctive licorice-like note.
- Sichuan Peppercorns: A generous pinch (about 1-2 teaspoons). They impart a unique tingly, citrusy aroma rather than spicy heat. (If unavailable, you can omit or use a small pinch of black peppercorns, though the flavor profile will differ.)
- Bay Leaves: 4 large leaves. These contribute a subtle herbaceous depth.
- Cinnamon Stick: 2 small pieces. A classic warming spice that complements the other aromatics. (If you don’t have sticks, about 1 teaspoon of ground cinnamon can be used in a pinch, but sticks are preferred for infused flavor.)
- Water: 5 pounds, which is approximately 10 cups or 2.4 liters. This forms the brine.
- High-Proof White Liquor (Baijiu): About 2 fluid ounces (roughly 60ml or about 8 tablespoons), ideally around 56% alcohol by volume (ABV). This acts as a natural preservative and helps prevent mold growth. (A readily available substitute would be a good quality vodka or a neutral grain spirit like Everclear if you can find it, diluted slightly if it’s too high proof to handle easily.)
A Note on Spices: The combination of star anise, Sichuan peppercorns, bay leaves, and cinnamon is key to the fragrant aroma of the brine. If you can’t find all of them, don’t despair! Focus on star anise and bay leaves, as they are quite common and will still impart lovely notes.
Crafting Your Salt Cured Eggs: Step-by-Step
This process leverages the power of salt and aromatics to preserve and flavor the eggs. Follow these steps carefully for the best results.
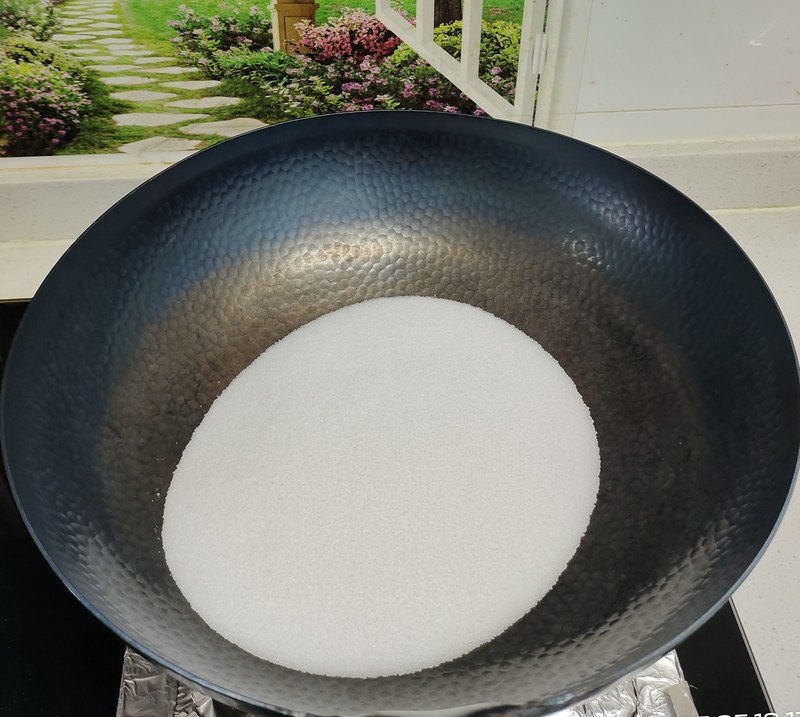
- Prepare the Brine Base: Place 1 pound of fine salt into a dry, clean pot. Ensure the pot is completely free of water or oil.
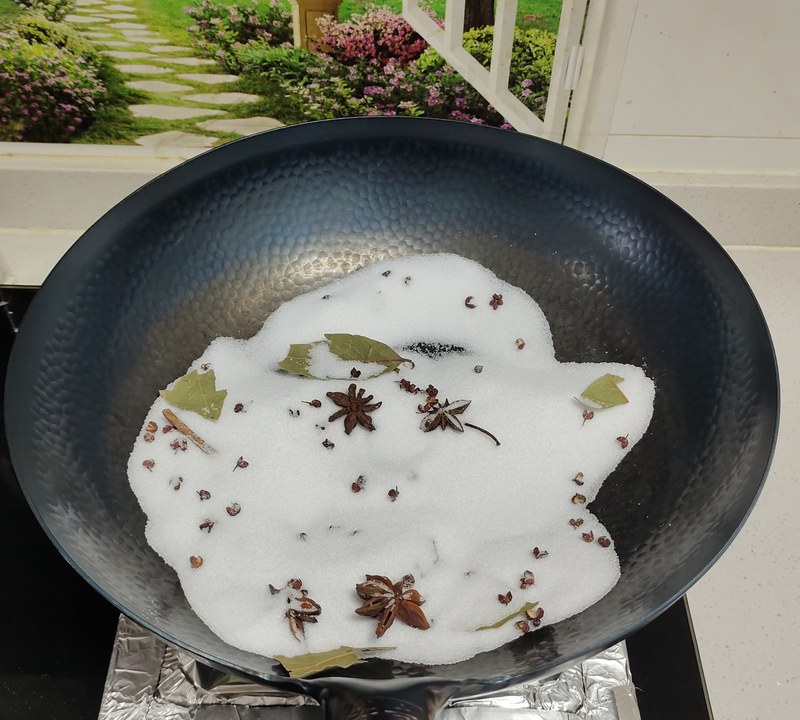
- Toast the Aromatics: Add the star anise, Sichuan peppercorns, bay leaves, and cinnamon sticks to the salt.

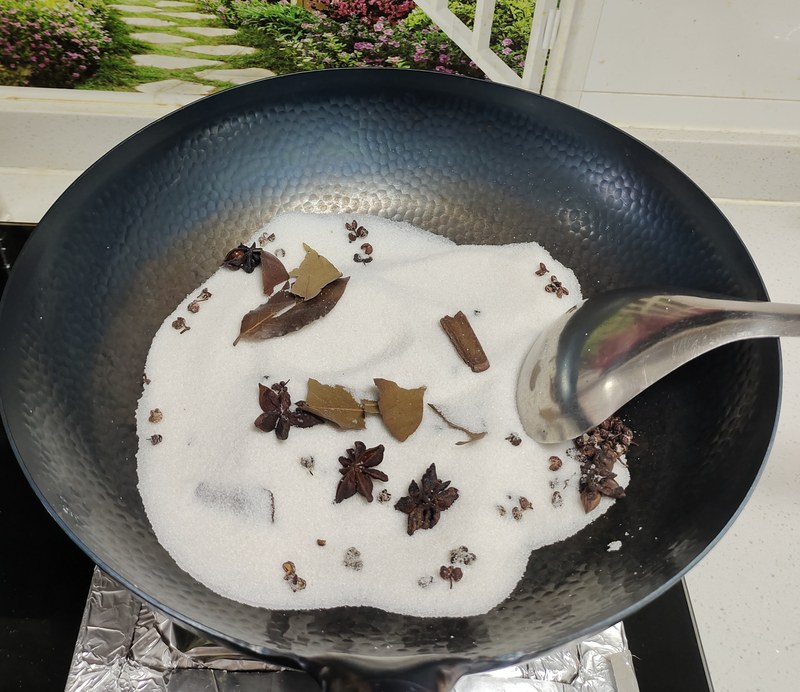
- Infuse the Spices: Gently stir and toast the spices and salt over low heat. This process awakens their aromas and lightly toasts the spices. Keep stirring continuously to prevent burning.
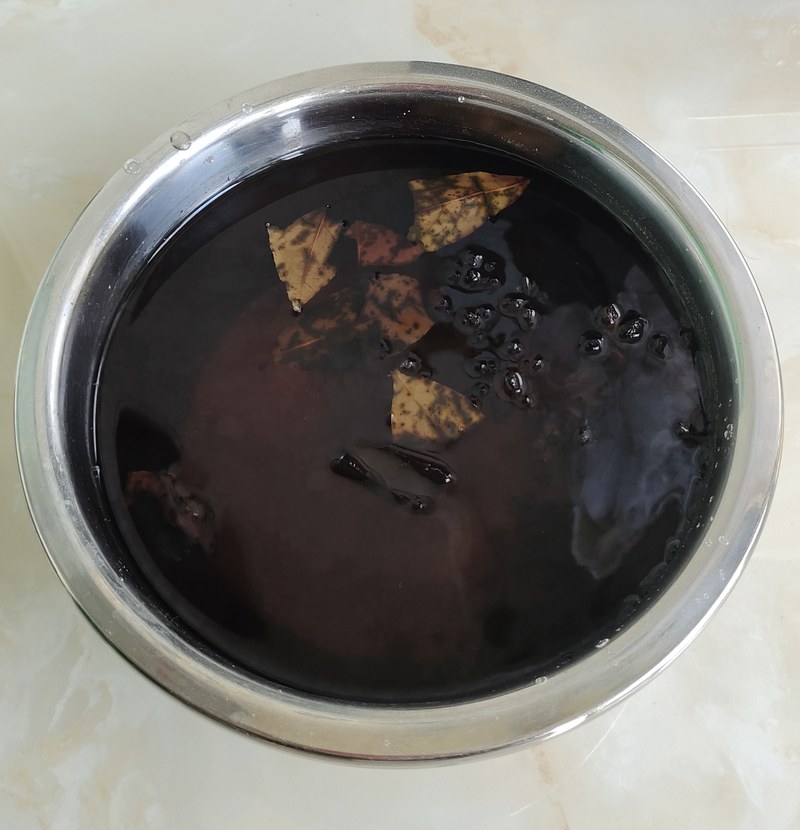
- Boil the Brine: Continue toasting until the salt turns a pale yellow and the fragrance of the spices becomes noticeable. Then, carefully add 5 pounds (about 10 cups) of water to the pot (the recipe suggests a 1:5 salt to water ratio). Bring the mixture to a rolling boil and let it simmer for 5 minutes to fully extract the flavors from the spices. (Note: An image for this pouring/boiling step was missed in the original recipe documentation.)
- Cool Thoroughly: The most crucial step now is to let the spiced salt water cool down completely. This might take several hours. Ensure it’s at room temperature or cooler before proceeding. Heating eggs with warm brine can cause them to cook prematurely or affect their texture.
- Prepare the Eggs: While the brine cools, gently wash your 38 fresh eggs. It’s vital that the eggs are completely dry before they go into the jar. Pat them dry thoroughly with a clean cloth or paper towels and let them air dry for a bit longer if needed. Any residual moisture can affect the preservation process.
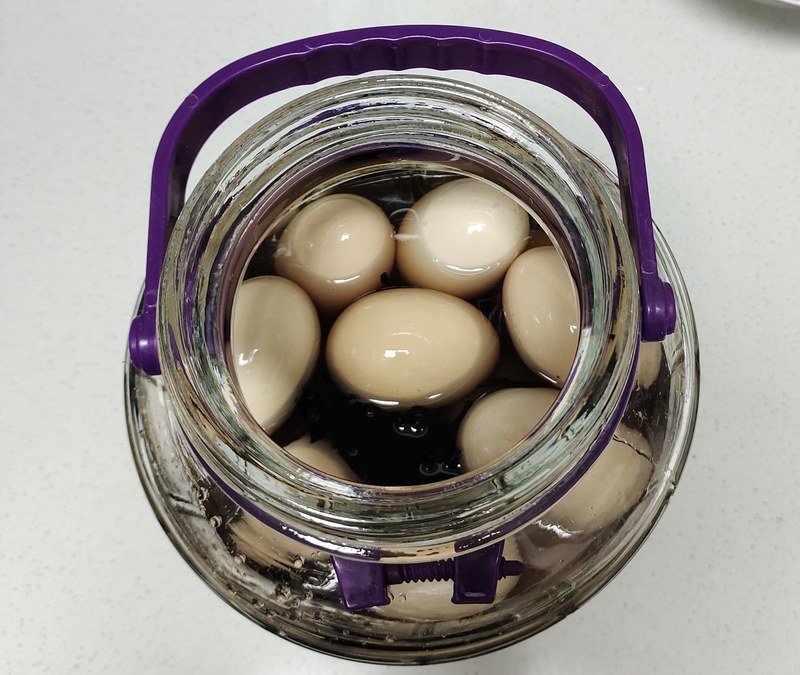
- Pack the Jar: First, carefully place any double-yolk eggs you might have at the bottom of a clean, dry glass jar. Then, arrange the rest of the eggs snugly in the jar. Once the eggs are arranged, pour the completely cooled spiced salt brine over them. Make sure the eggs are fully submerged in the brine; they should be completely covered.
- Add Protection: Have a bottle of high-proof white liquor (around 56% ABV, like Baijiu, or a substitute like high-proof vodka) ready.
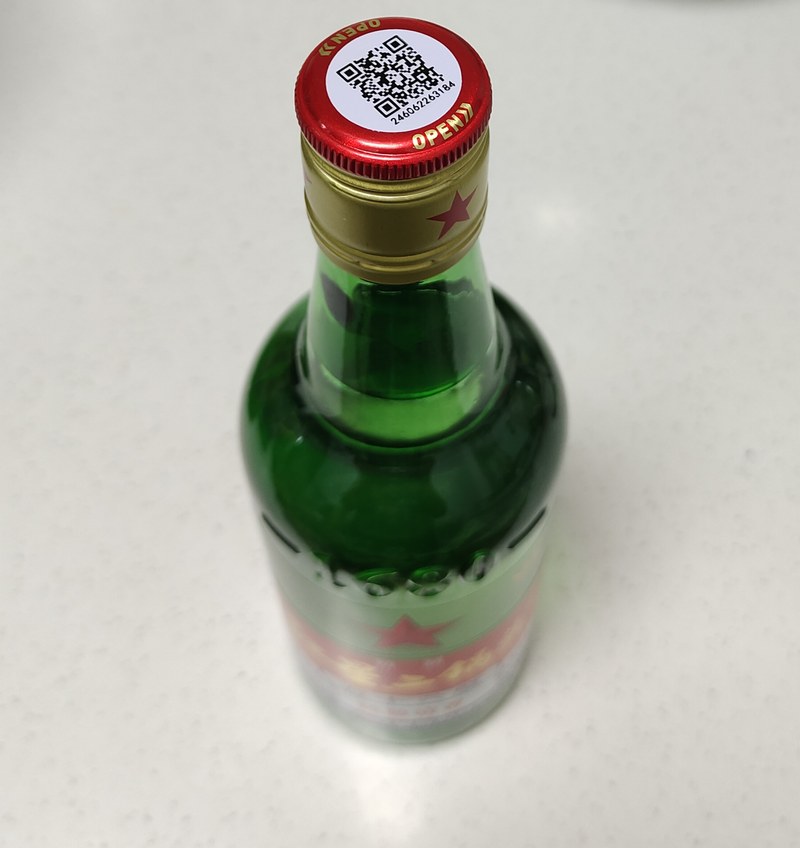
- Seal and Preserve: Pour about 2 fluid ounces (a small splash) of the white liquor over the eggs in the jar. This helps to inhibit bacterial growth and acts as an additional preservative. Seal the jar tightly. If you have two jars, you can divide the eggs and brine equally.
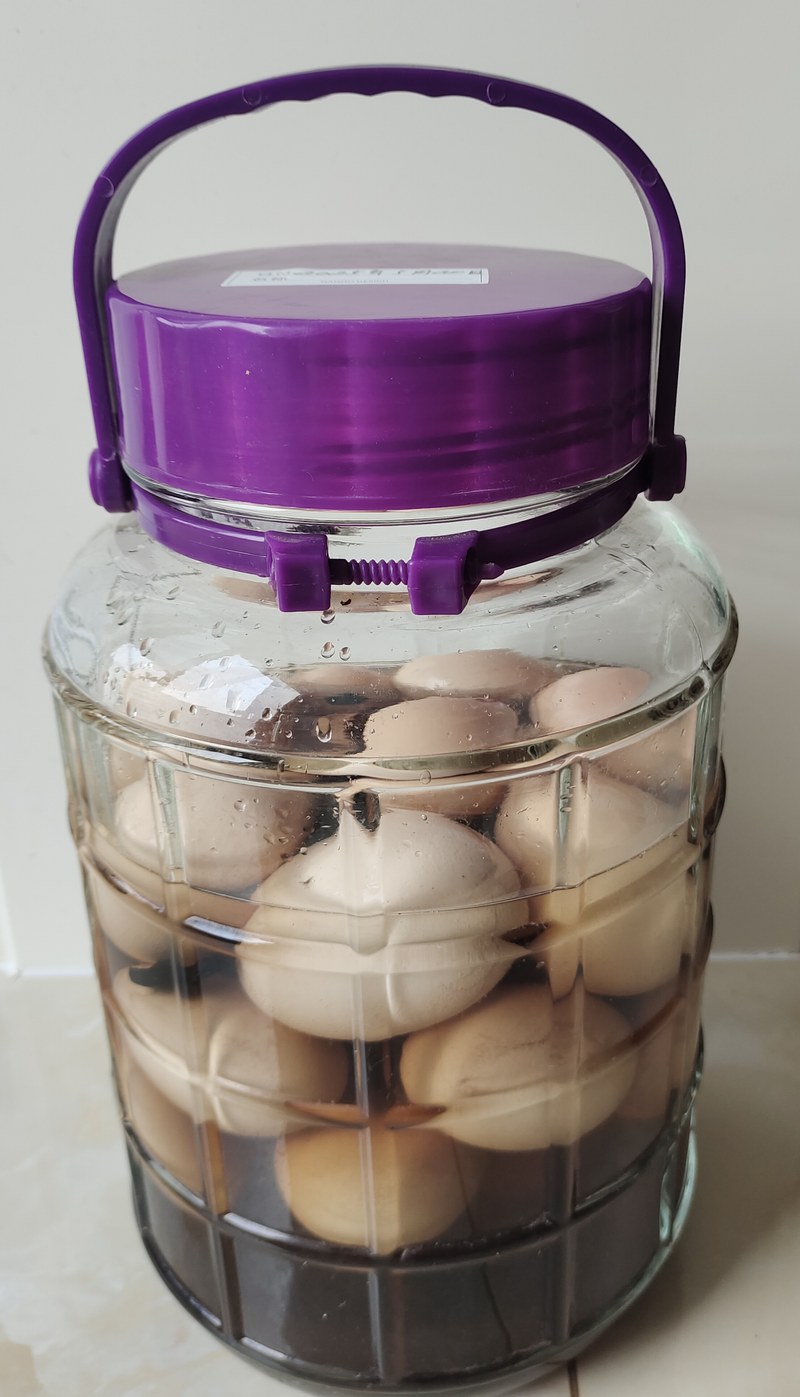
- The Waiting Game: Store the jars in a cool, dark place. During the summer, you’ll need to let them brine for about 40 days. In cooler weather, this might take longer, potentially up to 60 days. Once the brining period is complete, carefully remove the eggs. To cook them, place them in a pot of fresh water and boil for approximately 20 minutes.
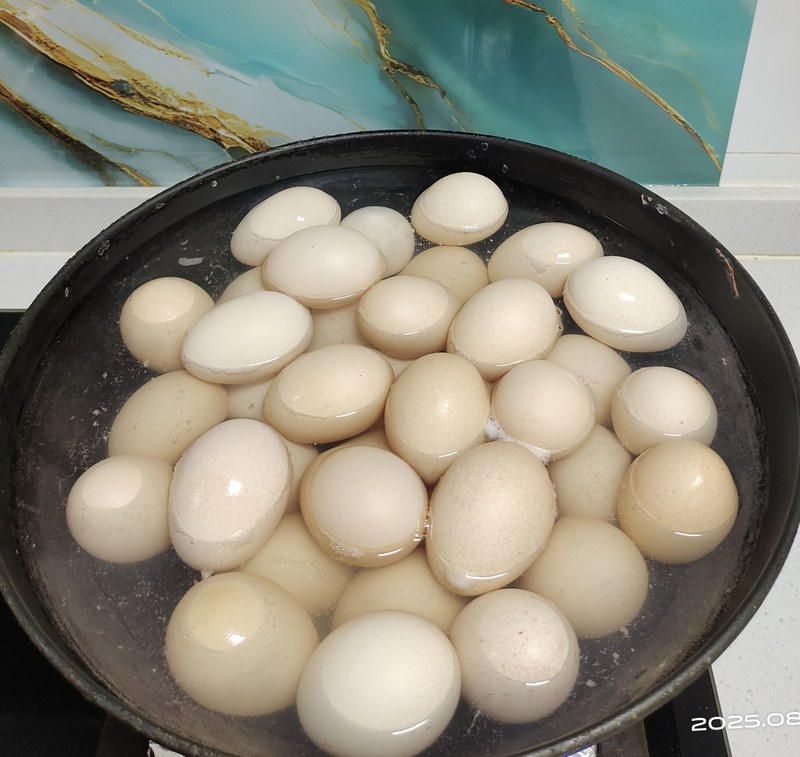
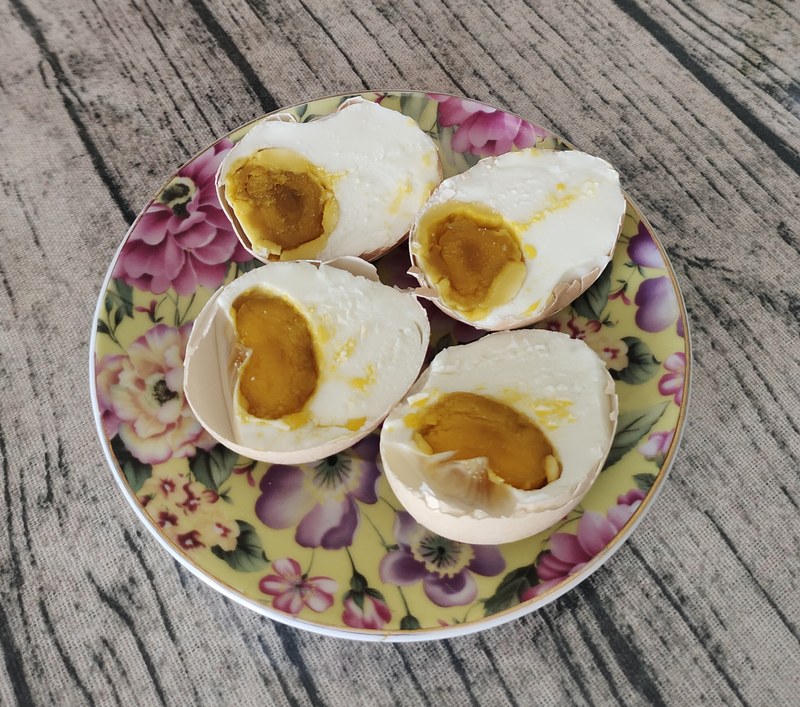
- The Moment of Truth: Remove the cooked eggs and let them cool slightly. You can crack one open to admire your handiwork! Be prepared to see a beautiful, vibrant golden-yellow yolk, often glistening with oil, and a perfectly set, white albumen.

Savoring Your Homemade Creation
Cutting into one of these homemade salt-cured eggs for the first time is truly rewarding. The aroma that wafts up is a complex blend of savory saltiness and the subtle fragrance of the toasted spices. Compared to store-bought salted eggs, these offer a more nuanced depth of flavor and, with luck and proper brining, a wonderfully rich, almost crumbly yolk that releases a beautiful golden oil – a sign of perfect preservation.
They are an absolute delight served alongside a bowl of warm rice porridge (congee) for breakfast, adding a savory counterpoint that is both comforting and sophisticated. They can also be roughly chopped and added to fried rice, noodle dishes, or simply eaten with a touch of soy sauce. This recipe, while detailed, is a rewarding culinary adventure that yields a pantry staple with an exceptional homemade touch.
I truly hope you give this recipe a try! It’s a wonderful way to connect with traditional preservation methods and create something truly special in your own kitchen. If you do make these, I’d love to hear about your experience, your brining time, and how you enjoyed them! Share your thoughts and any tips you discovered in the comments below. Happy cooking!


